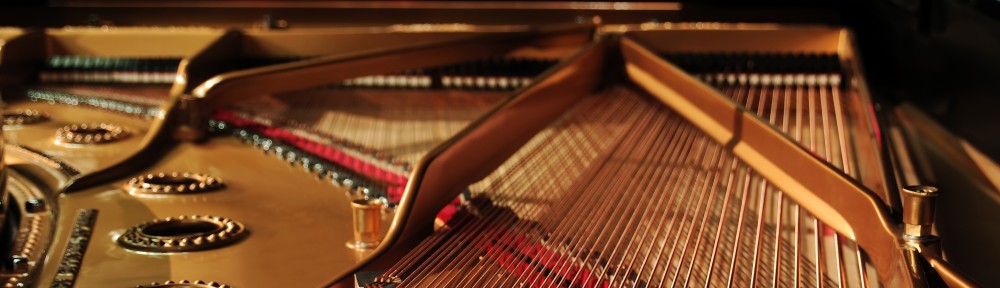
Once the soundboard is installed with the bridge blanks mounted it is time to carve the bridges. First step is to scribe the location of each bridge pin hole. How this is achieved is a class all by itself. There are approximately 450 holes (depends on scale of each piano) hand drilled at compound angles. Once holes are located and drilled graphite is burnished into the wood on the top service of the bridge. Then, with very sharp tools each notch is carved by hand. This is a tedious process which cannot be rushed and one which is rather hard on the body. Regardless of how many I have done I always feel I could have done better. Just one of those things, I guess. Next step is to insert the brass plated nickel bridge pins and grind them to height. The final finish coat is applied to the bridges and soundboard. The bridges are made to an exacting height to allow for the correct amount of downward pressure called down-bearing, across the entire bridge. This creates a force against the soundboard somewhat equal to the force of the soundboard against the strings. When correct, a dynamic relationship is created resulting in even dynamic tone. The final calibrations are done by an initial installation of the plate. Any needed adjustments are done by correct positioning of the plate.


